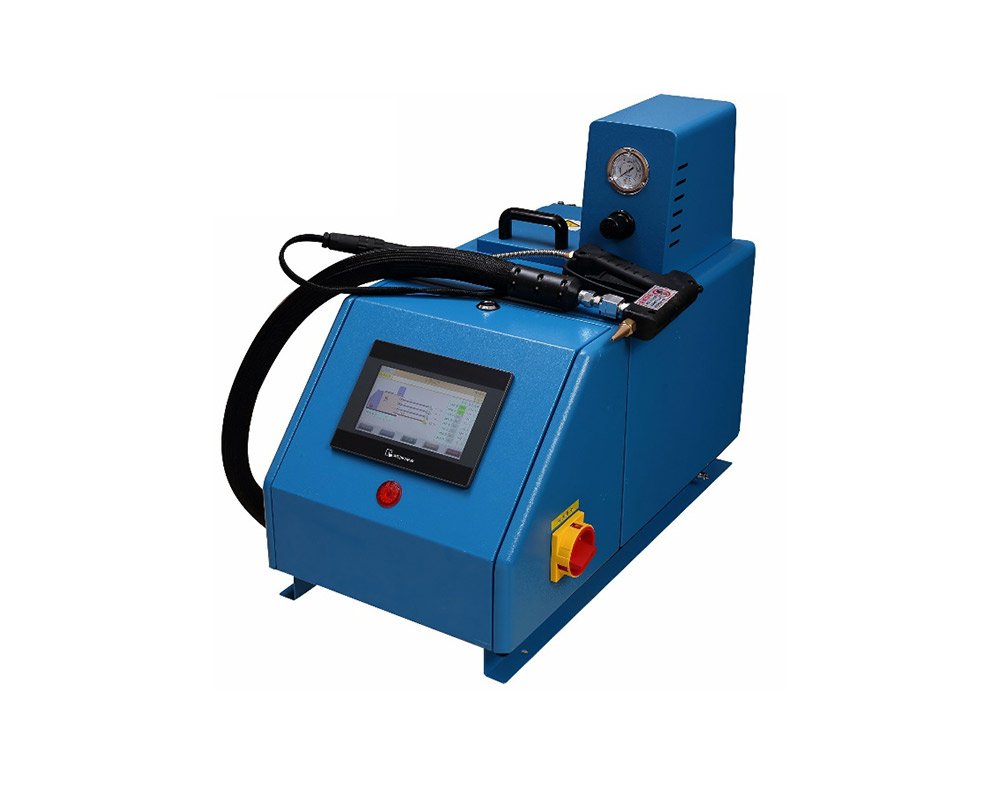
If dirt is mixed into the glue or the brand of hot melt glue needs to be changed, the hot melt glue machine should be cleaned, and at least 6 liters of cleaning fluid is required.
1. Empty the hot melt adhesive as much as possible;
2. Reduce the glue pressure to zero;
3. Release the joint of the hose and the glue circuit of the spray gun, and put one end of the hose into the container;
4. Pour the cleaning liquid into the melting tank for 15 minutes, and carefully mix the cleaning liquid with the remaining hot melt adhesive;
5. Slowly start the pump and pump half of the cleaning solution through the throat;
6. Reduce the glue pressure to zero;
7. Replace the filter screen and sealing ring;
8. Add new hot melt adhesive and raise to operating temperature;
9. Connect the hose and spray gun and discharge the remaining cleaning liquid (after the new hot melt adhesive is stable);
10. The hot melt adhesive tank is filled with new hot melt adhesive, and the system is ready.
General cleaning process: The hot melt adhesive machine adopts high-strength outer coating paint, and various common cleaning methods can be used, but in order to prevent the coating from falling off or being damaged, do not use strong corrosive solvents, and the cover and panel can be wiped with industrial spray.
Output filter
The pump output filter is replaced every month in the first few months. After gaining experience, the cleaning and replacement time can be determined by yourself. The output filter is in the branch seat (connected to the throat). Follow the steps below to replace the output filter
1. Please raise the system to operating temperature first;
2. Release the glue pressure in the branch seat;
3. Unscrew the filter cover;
4. Use a hook-shaped device to lift the filter to the branch seat;
5. Observe the carbonization and debris in the filter screen, and replace the filter screen if necessary;
6. When replacing the filter screen, replace the sealing O-ring at the same time, and apply anti-scalding grease on the O-ring;
7. Coat the thread of the filter cover with tetrafluoroethylene, install the manifold and screw it tightly
Primary filter cleaning
1. Pump out the hot melt adhesive in the melting tank;
2. Lower the temperature of the melting cylinder to the softening point of the hot melt adhesive;
3. Remove the side cover of the melter, but do not remove the ground wire;
4. Put on protective gloves, unscrew the filter mounting bolts, and take out the primary filter;
5. After soaking the filter in the cleaning solution for a period of time, take out the filter and use hot air
gun and cloth to clean the dirt on the filter;
6. Coat the filter thread with tetrafluoroethylene and install it back into the melter;
7. When installing the filter, pay attention to the opening towards the pump;
8. Reinstall the side cover;


